Common Workflows
This section takes you through the steps necessary to perform common actions, such creating templates and demos, presenting demos, and more.
Creating a Template or Demo
This section will step you through creating both templates and demos in Abracademo. The process is very similar for each
Demos vs Templates
As mentioned above, Templates and Demos are both created using the same Canvas Screen workflow. The general difference is that Templates are created by administrators for other users to clone into Demos. Certain elements can be "locked" in Templates which will not allow them to be modified in demos created from that template. This gives users a head start at creating demos, making it fast and easy to get a demo up and running, and limits their control ensuring they don't stray too far from the original Template's flow but allowing them to customize it for each prospect.
Creating a New Template
The first step to creating a Template is to sign in as an administrator and select "Create Template" from the main dashbaord.
Adding Assets
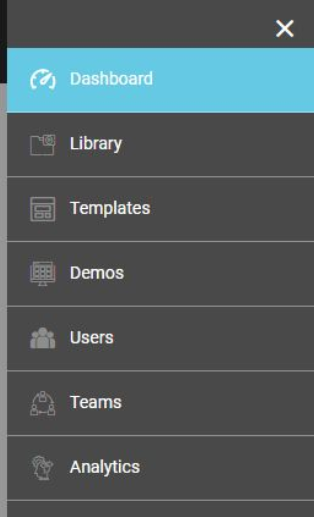
Let’s say you’re creating a Demo for your product, a Chatbot that can be installed on clients’ home pages. You may have a saved image of that chatbot to use in the demo. If so, first you’ll want to upload that image so that it becomes a part of your Asset Library. You can simply drag and drop images from your desktop into the canvas screen, or can pre-load all your assets and images by clicking the system menu button at the top right of your screen and selecting "Library".
Using the Library to Manage Assets
If you choose to pre-add assets using the library section of Abracademo you’ll be able to view your assets (you can also do
this in the canvas). You'll also be able to organize your assets by creating folders, moving assets into them, and even nesting folders.
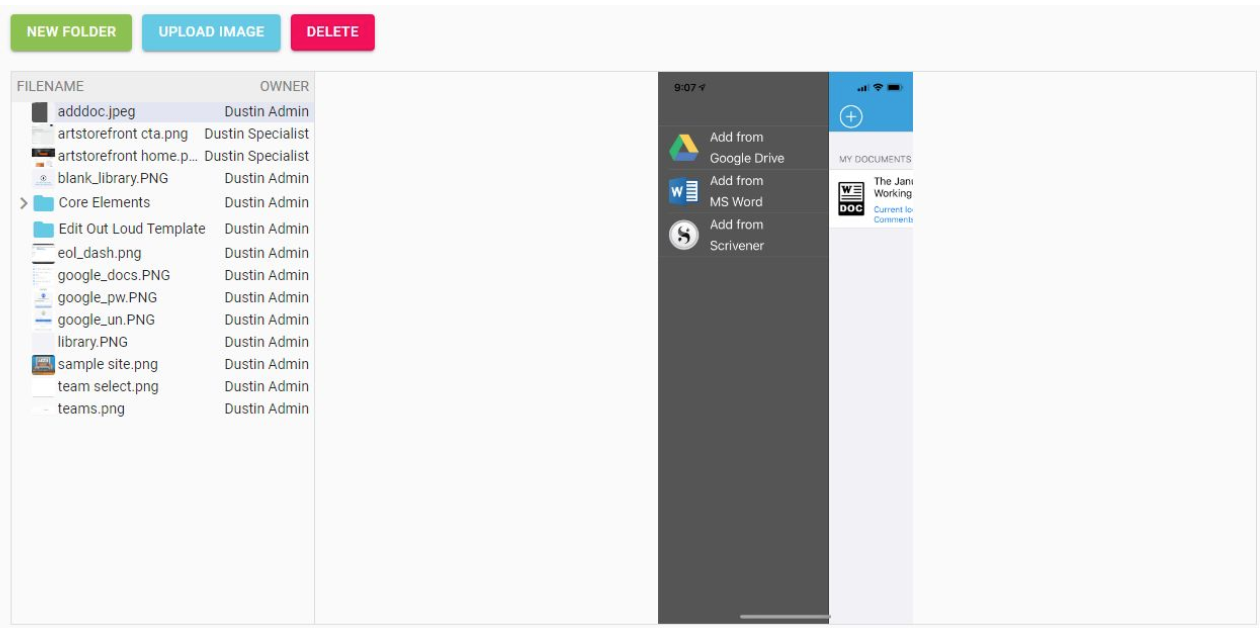
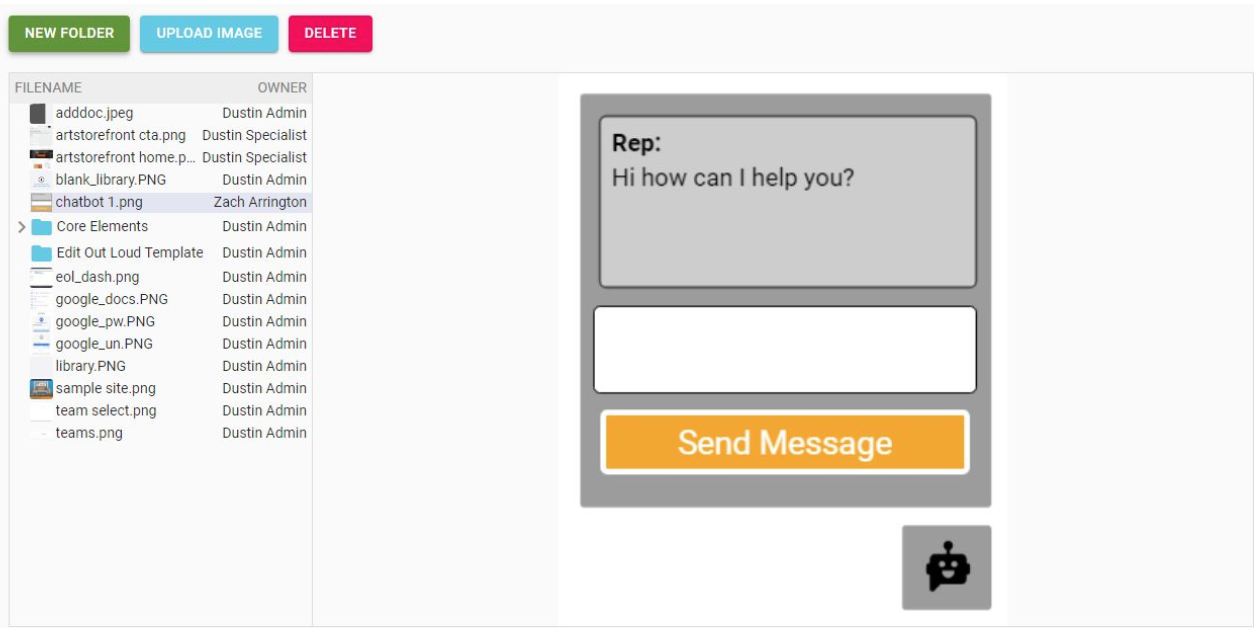
In the scenario described above, we can use this screen to add our Chatbot image (Chatbot1.png) by clicking the “Upload Image” button. Once it’s uploaded, you’ll be able to see the file in the Library and view a preview by clicking it:
Editing in the Canvas
That same file will now be visible in your Asset Library and visible in the Utility Window on the Canvas page. Note that once a Template or Demo has been created, users can also add Assets to their Library by dragging and dropping them into the Asset Library Utility Window on the Canvas Screen. Now that the asset has been loaded, we can double click or drag and drop it from the Utility Window onto the Canvas:
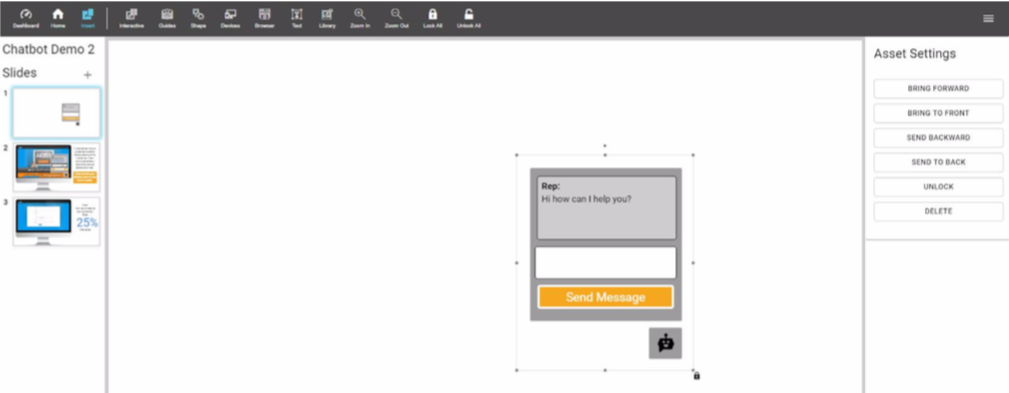
Once on the Canvas, you’ll see the Asset’s Bounding Box Controls. Using the click and grab points around the Asset, you can move and scale the Asset (holding Shift will retain the Asset’s aspect ratio). The pivot point at the very top allows you to rotate the Asset. For Admins creating a Template, a Lock icon will appear at the bottom right allowing Admins to lock the object and all its attributes when Specialists create a Demo from this Template.
Now that we have the Chatbot on the screen, let’s demonstrate some functionality. To start, let’s have your rospect enter some text into the chatbot, press send and get a response. First, let’s define a space for your prospect to input text. You can see that the chatbot has a text entry field, so let’s put an interactive text field over that area.
Making Things Interactive
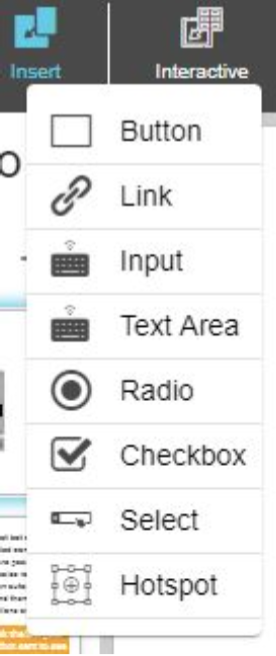
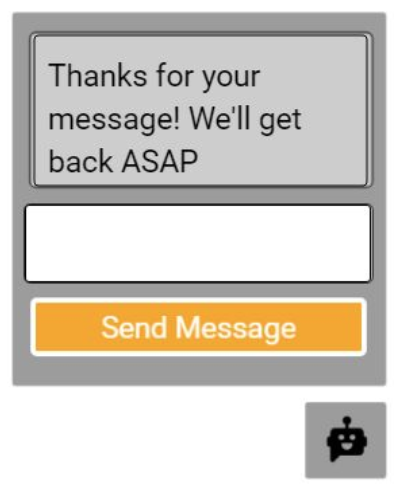
You’ll add interactivity by going to the Interactive top level menu item, clicking it and selecting “Text Area” from the dropdown menu. Then you can use the bounding box controls for that Object to center the Text Area over the entry field.
Next you’ll want to set up an action when the prospect hits the “Send Message” button. To do that, go back to the Interactive Menu and select a Hotspot, then place that hotspot over the “Send Message” button. The hotspot will be invisible when presenting the Demo - but clicking that area on the canvas will execute the action defined in the Hotspot’s Object Settings (usually progressing to another Slide in the Demo). Any slides to which you want the hotspot to direct have to exist before assigning them, so make sure you have your next slide in place before assigning the Hotspot.
To do that, go to the Slide Arrangement Window and hit the plus sign at the top right. Alternatively, you can Duplicate the slide you’re working on. Just right click in the Slide Arrangement Window and hit Duplicate. This is what we’ll want to do here since we’ll be dealing with the same elements.
Now, on the duplicated slide, you can put a rectangle over the previous message and use the Eyedrop Sampler in the Object Controls Utility Window to match the color of the Asset. Then we can use the Text tool to put a response in that space:
At this point we’re stacking elements on top of each other, so be sure to use the Arrangement Controls in the Object Settings Utility Window to display elements in the correct order.
Creating a New Demo
There are two ways to create a new demo. Both are available when signed in as a sales (non-admin) user. You can create a blank demo by selecting "Create Demo" from the admin dashboard. Or you can get a head start by creating a demo from a template.
Creating a Demo from a Template
Now we have a Template with a little bit of functionality, let’s assume it’s ready for your sales specialists to customize into individual demos. Templates and Demos all save automatically with every action, so as soon as you’ve completed your Template you can exit to the Template Management screen. There you’ll see the “Create Demo” icon, which is available to both Admins and Specialists:
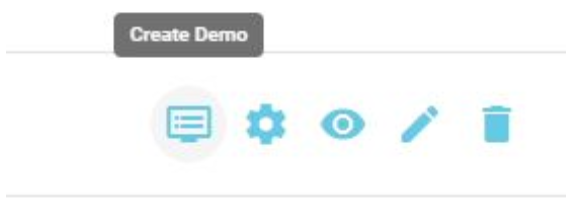
Clicking this will take you back to the Canvas Screen, which will now display all the elements from your Template, but any elements that have been Locked can’t be moved or edited in this Demo.
Now it’s time to customize this chatbot demo for a prospect. With the chatbot Template already in place, we just need to capture an image of a client’s website and put it on the demo. Use your Mac’s or PC’s Snapshot or Snip & Sketch to do a screengrab:
We can now drag and drop that screengrab into the Canvas Screen via the process shown above and arrange it behind the chatbot elements:
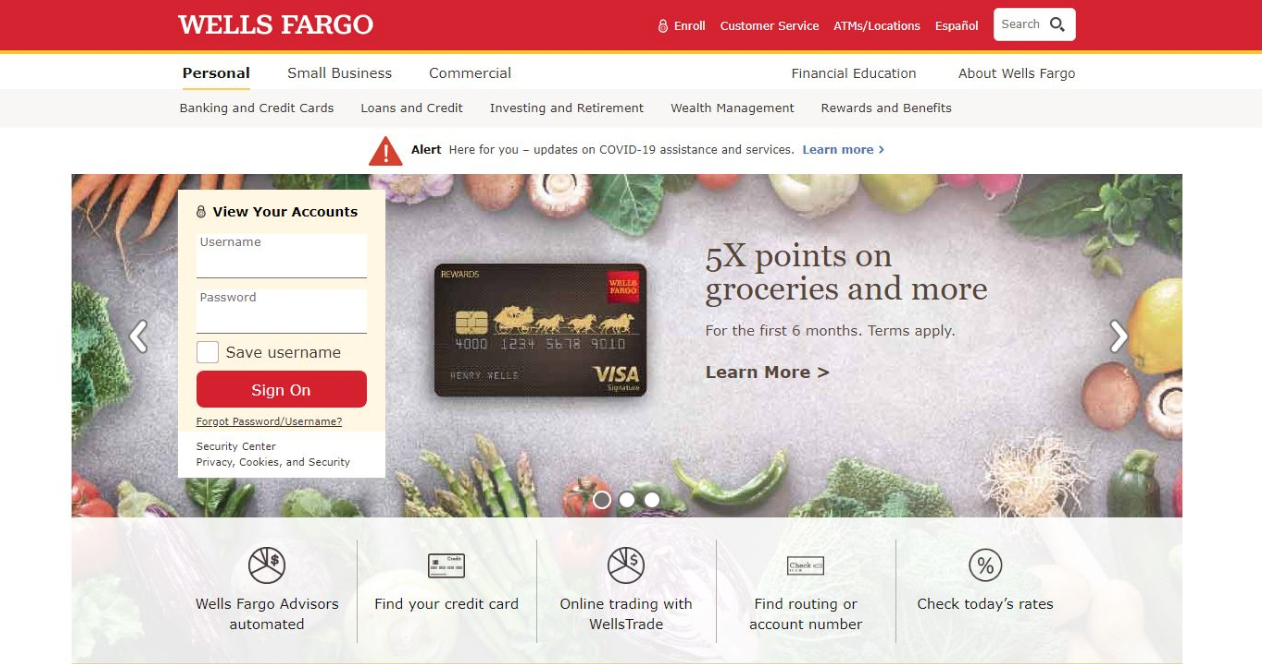
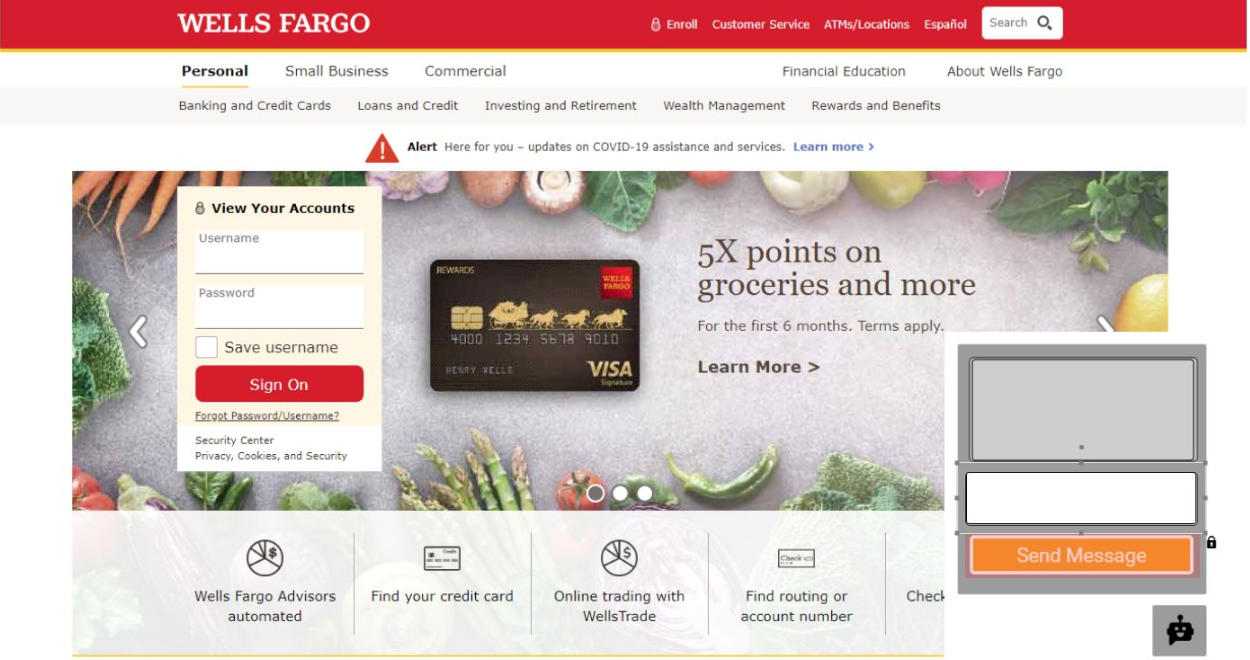
You could further build this demo out by adding text fields to the username and password fields and hotspots to the other clickable elements of the prospect’s site. Once everything you want to present is in place, you’re set!
Sharing or Presenting a Demo
Presenting in Abracademo is a cinch. You can either present yourself by hitting “Present” in the “Home” Menu on the Canvas Screen, or you can send the Demo to a prospect by publishing it and creating a link in the “Settings” pop up:

“Settings” will present you with the ability to rename the Demo, toggle the Publish switch. Once the switch is set to “Published” a shareable link will appear:
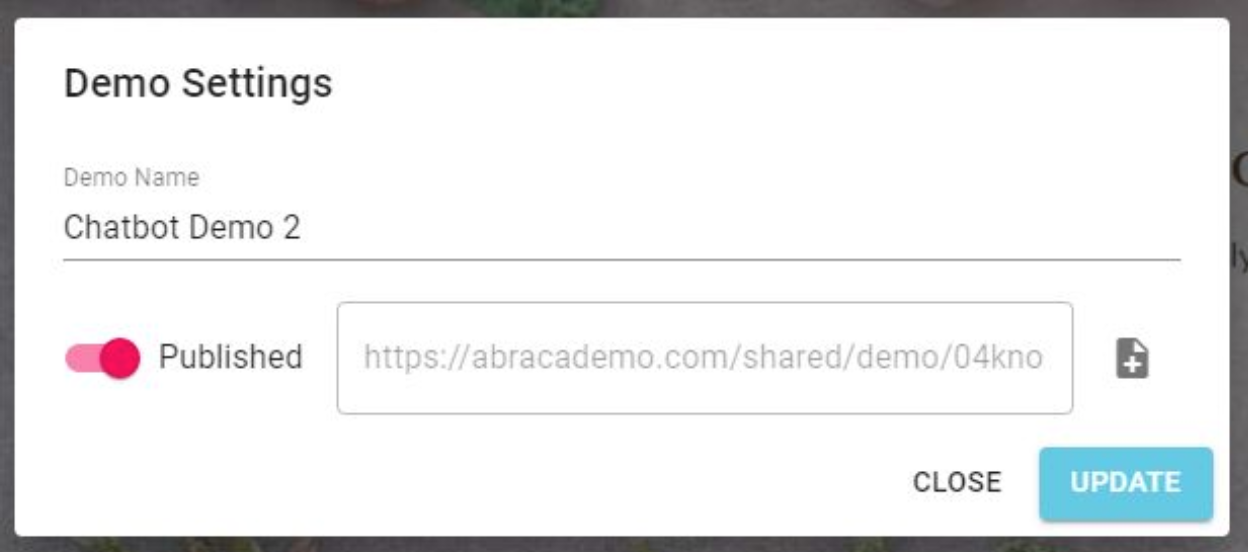
You can share that link with your prospects any way you wish (in emails, embedded in an iframe on a website, or any other way). For example, here is the link to the Demo created above: Chatbot Demo
Viewing Prospect Activity
Users can see which prospects might be worht following up with by monitoring the number of times a Demo has been viewed. If you click the main menu then select "Analytics", you'll see how many times prospects have viewed demos, which parts of the demo they've viewed, and when they viewed them. you can even distinguish between different users so you can see if users are sharing the demo with others.
Even without going into the analytics screen, you can see basic information about demo views right from the main dashboard
Get Support or Request Features
We hope this walkthrough has given you a good overview of the system’s capabilities and planted the seeds of some creative ideas on how to use it. We’re always looking to improve - let us know if you have any suggestions, requests or questions. Our inbox is always open. Email us at hello@abracademo.com.
Happy Demo-ing!
~The Abracademo Team